
edbs ppas comes with an oracle compatibility layer. in this and some future posts I’ll take a look at what this layer is about and what you can do with it.
there are four parameters which control the behaviour of the oracle compatibility layer:
- edb_redwood_date
- edb_redwood_raw_names
- edb_redwood_strings
- edb_stmt_level_tx
lets check the catalog for these parameters and see if we can change them on the fly or if we need to restart the database server:
select name,setting,context
      from pg_settings
     where name in ('edb_redwood_date'
                   ,'edb_redwood_raw_names'
                   ,'edb_redwood_strings'
                   ,'edb_stmt_level_tx');

         name          | setting | context
-----------------------+---------+---------
 edb_redwood_date      | on      | user
 edb_redwood_raw_names | off     | user
 edb_redwood_strings   | on      | user
 edb_stmt_level_tx     | off     | user
fine, all have the context “user” which means we can change them without restarting the server (btw: the above settings are the default if ppas is installed in oracle compatibility mode).
what is edb_redwood_date about?
in postgres, if you specify a column as date there is no time information. setting this parameter to “on” tells the server to use a timestamp instead of pure date data type whenever date is specified for a column. in oracle a column of type date includes the time component, too.
lets switch it to off for now:
edb=# alter system set edb_redwood_date=off;
ALTER SYSTEM
edb=# select pg_reload_conf();
 pg_reload_conf
----------------
 t
(1 row)

edb=# select name,setting,context from pg_settings where name = 'edb_redwood_date';
       name       | setting | context
------------------+---------+---------
 edb_redwood_date | off     | user
(1 row)
and now lets create a simple table with a date column and insert one row:
edb=# create table t1 ( a date );
CREATE TABLE
edb=# \d t1
  Table "enterprisedb.t1"
 Column | Type | Modifiers
--------+------+-----------
 a      | date |

edb=# insert into t1 values (date '2014-01-01');
INSERT 0 1
edb=# select * from t1;
     a
-----------
 01-JAN-14
(1 row)
no time component available. now switch edb_redwood_date to “on”:
edb=# alter system set edb_redwood_date=on;
ALTER SYSTEM
edb=# select pg_reload_conf();
 pg_reload_conf
----------------
 t
(1 row)

edb=# select name,setting,context from pg_settings where name = 'edb_redwood_date';
       name       | setting | context
------------------+---------+---------
 edb_redwood_date | on      | user
(1 row)
… and create another table with type date for the column and do the same insert:
edb=# create table t2 ( a date );
CREATE TABLE
edb=# insert into t2 values ( date '2014-01-01');
INSERT 0 1
edb=# select * from t2;
         a
--------------------
 01-JAN-14 00:00:00
(1 row)
here we go. the time component is now included. but how is this possible? the server created the column with type “timestamp (0)” on the fly:
edb=# \d t2
             Table "enterprisedb.t2"
 Column |            Type             | Modifiers
--------+-----------------------------+-----------
 a      | timestamp without time zone |
what is edb_redwood_raw_names about?
when oracle compatibilty mode is used various oracle catalog views are accessible in ppas, e.g;
edb=# select viewname from pg_views where viewname like 'dba%' limit 5;
    viewname
-----------------
 dba_tables
 dba_users
 dba_constraints
 dba_all_tables
 dba_triggers
(5 rows)
now lets create two tables while edb_redwood_raw_names is set to its default (false/off):
edb=# create table TEST1 (A int);
CREATE TABLE
edb=# create table test2 (a int);
CREATE TABLE
both of these tables are displayed in upper case when looking at the oracle catalog views:
edb=# select table_name from dba_tables where table_name in  ('TEST1','TEST2');
 table_name
------------
 TEST1
 TEST2
(2 rows)
setting edb_redwood_raw_names to true/on changes this behaviour:
edb=# set edb_redwood_raw_names to on;
SET
edb=# show edb_redwood_raw_names;
 edb_redwood_raw_names
-----------------------
 on
(1 row)
edb=# create table TEST3 (A int);
CREATE TABLE
edb=# create table test4 (a int);
CREATE TABLE
edb=# select table_name from dba_tables where table_name in  ('TEST3','TEST4');
 table_name
------------
(0 rows)

edb=# select table_name from dba_tables where table_name in  ('test3','test4');
 table_name
------------
 test3
 test4
(2 rows)
what is edb_redwood_strings about?
edb_redwood_strings controls concatenation of strings. in plain postgres, if a string is concatenated with null the result is null:
edb=# show edb_redwood_strings;
 edb_redwood_strings
---------------------
 on
(1 row)

edb=# set edb_redwood_strings to off;
SET
edb=# show edb_redwood_strings;
 edb_redwood_strings
---------------------
 off
(1 row)

edb=# select 'aaaa'||null;
 ?column?
----------

(1 row)
in oracle the behaviour is the other way around. if a string is concatenated with null the result is the original string:
edb=# set edb_redwood_strings to on;
SET
edb=# show edb_redwood_strings;
 edb_redwood_strings
---------------------
 on
(1 row)

edb=# select 'aaaa'||null;
 ?column?
----------
 aaaa
(1 row)
what is edb_stmt_level_tx about?
this is all about “statement level transaction isolation”, which is the default behaviour in oracle. lets set up a little test case to demonstrate this:
edb=# create table t1 ( a int, b varchar(3) );
CREATE TABLE
edb=# alter table t1 add constraint chk_b check ( b in ('aaa','bbb'));
ALTER TABLE
edb=# create table t2 ( c int, d date );
CREATE TABLE
edb=# alter table t2 add constraint chk_c check ( c in (1,2,3));
ALTER TABLE
the default setting for edb_stmt_level_tx is off:
edb=# show edb_stmt_level_tx;
 edb_stmt_level_tx
-------------------
 off
(1 row)
lets insert some rows in the tables and let the last insert fail (autocommit needs to be off as each statement commits automatically otherwise):
edb=# set autocommit off;
edb=# show autocommit;
autocommit OFF
edb=# insert into t1 (a,b) values (1,'aaa');
INSERT 0 1
edb=# insert into t1 (a,b) values (2,'aaa');
INSERT 0 1
edb=# insert into t2 (c,d) values (1,sysdate);
INSERT 0 1
edb=# insert into t2 (c,d) values (5,sysdate);
ERROR:  new row for relation "t2" violates check constraint "chk_c"
DETAIL:  Failing row contains (5, 24-FEB-15 10:52:29).
if we now do a commit, which rows are there?
edb=# commit;
ROLLBACK
edb=# select * from t1;
 a | b
---+---
(0 rows)

edb=# select * from t2;
 c | d
---+---
(0 rows)
all gone (notice the ROLLBACK after the commit statement). lets witch edb_stmt_level_tx to on and repeat the test:
edb=# set edb_stmt_level_tx to on;
SET
edb=# show edb_stmt_level_tx;
 edb_stmt_level_tx
-------------------
 on
(1 row)

edb=# show autocommit;
autocommit OFF
edb=# insert into t1 (a,b) values (1,'aaa');
INSERT 0 1
edb=# insert into t1 (a,b) values (2,'aaa');
INSERT 0 1
edb=# insert into t2 (c,d) values (1,sysdate);
INSERT 0 1
edb=#  insert into t2 (c,d) values (5,sysdate);
ERROR:  new row for relation "t2" violates check constraint "chk_c"
DETAIL:  Failing row contains (5, 24-FEB-15 10:55:52).
edb=# commit;
COMMIT
edb=# select * from t1;
 a |  b
---+-----
 1 | aaa
 2 | aaa
(2 rows)

edb=# select * from t2;
 c |         d
---+--------------------
 1 | 24-FEB-15 10:55:49
(1 row)
now all the rows are there except for the failing one. this is what edb_stmt_level_tx is about. by default postgresql rolls back everything since the start of the transaction. when switching edb_stmt_level_tx to on only the failing statement is rolled back. in addition, if edb_stmt_level_tx is set to off you can not continue the transaction until either commit or rollback is issued:
edb=# set edb_stmt_level_tx to off;
SET
edb=# insert into t1 (a,b) values (1,'aaa');
INSERT 0 1
edb=# insert into t1 (a,b) values (2,'aaa');
INSERT 0 1
edb=# insert into t2 (c,d) values (1,sysdate);
INSERT 0 1
edb=# insert into t2 (c,d) values (5,sysdate);
ERROR:  new row for relation "t2" violates check constraint "chk_c"
DETAIL:  Failing row contains (5, 24-FEB-15 11:06:52).
edb=# insert into t2 (c,d) values (2,sysdate);
ERROR:  current transaction is aborted, commands ignored until end of transaction block

 pmatop
 metric selection
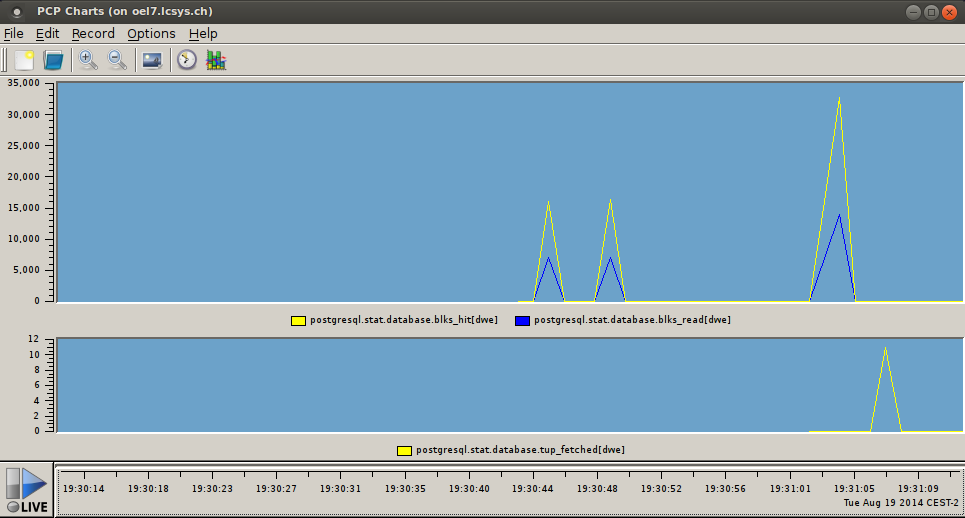 real time graphs