
… and as a dba you should have an understanding on how the operation works and what needs to be configured.
The first thing you need to do if you want to install oracle software is to prepare your operating system. For the little series I will use CentOS 5.8 x86_64 because it’s free and compatible to RedHat and Oracle Linux.
What you will need:
- The Virtual Box Software for your Operating System ( Virtual Box Website ), in my case 4.1.10
- The CentOS installation ISO ( CentOS download ), in my case 5.8 x86_64
If you prefer VMWare or any other virtualization software you can do so. Just make sure to create a new Virtual Machine that matches the one created here.
Once you have installed the VirtualBox software you are ready to create new Virtual Machine. The first steps will show the command line usage for creating the Virtual Machine and mostly will go with the defaults options. For documenting the OS setup itself i decided to provide the screen-shots as automating the OS setup is not in scope of this post.
Note: Everything shown for the command line can be done with the GUI, too. I personally prefer the command line as it is easier to document and faster once you’re common with the syntax.
If you have any questions on the commands used below, please take a look at the Virtual Box documentation.
Create a new CentOS 64bit Virtual Machine and name it oracleplayground ( or whatever name you like, just make sure you replace oracleplayground with the name of your choice in the below commands ):
vboxmanage createvm --name oracleplayground --ostype redhat_64 --register
Modify the VM to use 1512 mb of memory:
vboxmanage modifyvm oracleplayground --memory 1512
Create a new virtual hard disk which will contain the OS and the oracle software ( you can specify any location you like for the –filename parameter ):
vboxmanage createhd --filename ~/VirtualBox\ VMs/oracleplayground/oracleplayground_dh1.vdi --size=30720
Create a new virtual storage controller:
vboxmanage storagectl oracleplayground --name "IDE Controller" --add ide --controller PIIX4
Attach the virtual hard disk to the newly created virtual controller:
vboxmanage storageattach oracleplayground --storagectl "IDE Controller" --port 1 --device 0 --type hdd --medium ~/VirtualBox\ VMs/oracleplayground/oracleplayground_dh1.vdi
Attach the Centos Linux ISO to the virtual machine:
vboxmanage storageattach oracleplayground --storagectl "IDE Controller" --port 1 --device 1 --type dvddrive --medium ~/Downloads/CentOS-5.8-x86_64-bin-DVD-1of2.iso
As we will use NAT for the Virtual Machine we need to configure port-forwarding. This enables us to connect to the VM using ssh once the operating system is installed. This command will forward all requests to your workstation on Port 3000 to the VMs Port 22 ( the default port the ssh daemon listens on ):
vboxmanage modifyvm "oracleplayground" --natpf1 "guestssh,tcp,,3000,,22"
Finally start the VM:
vboxmanage startvm oracleplayground
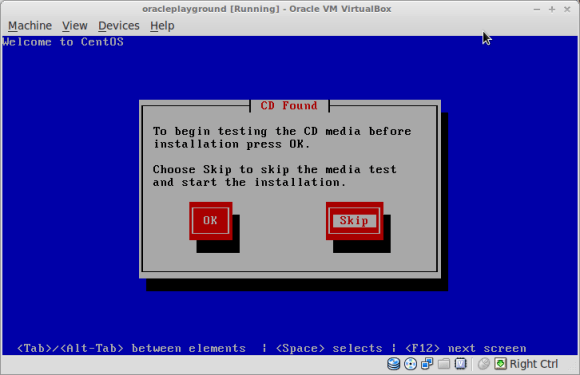
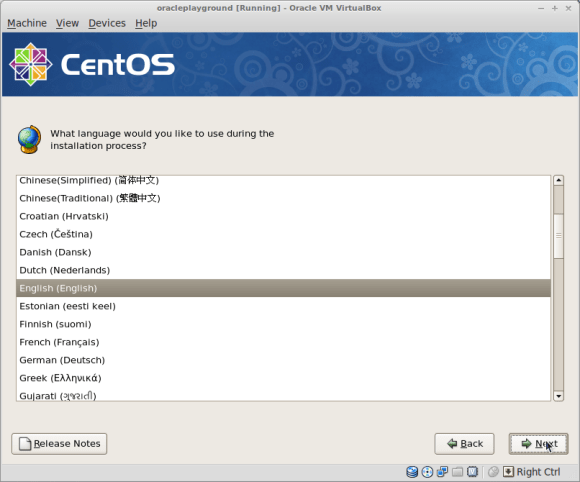
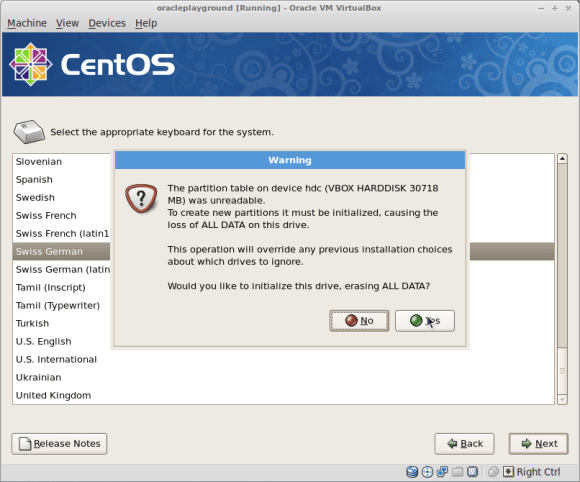
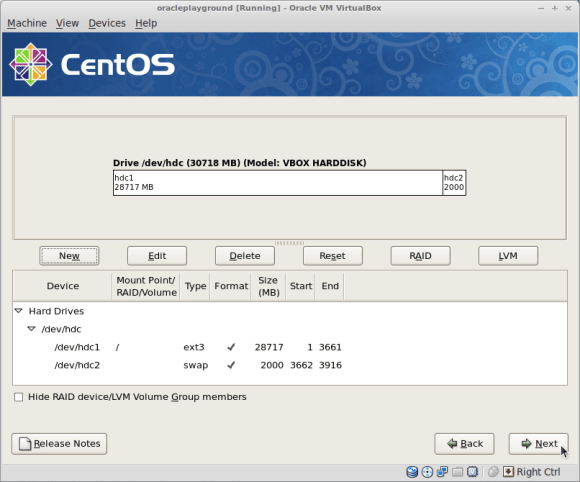
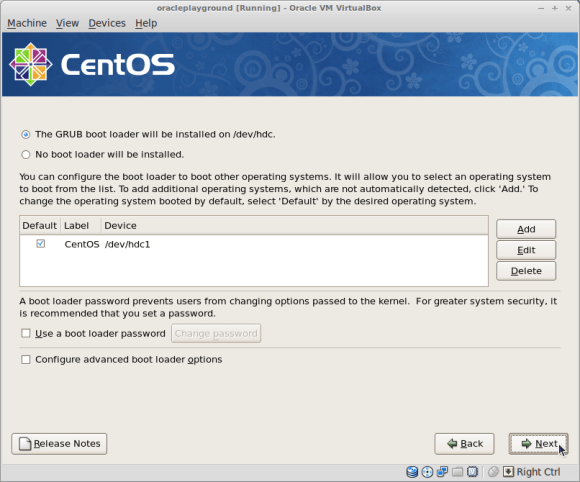
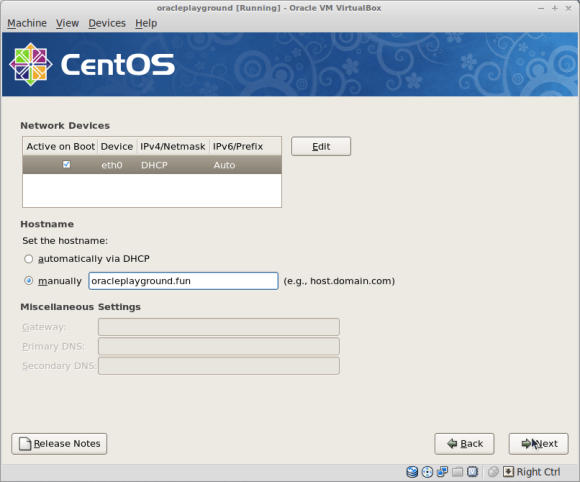
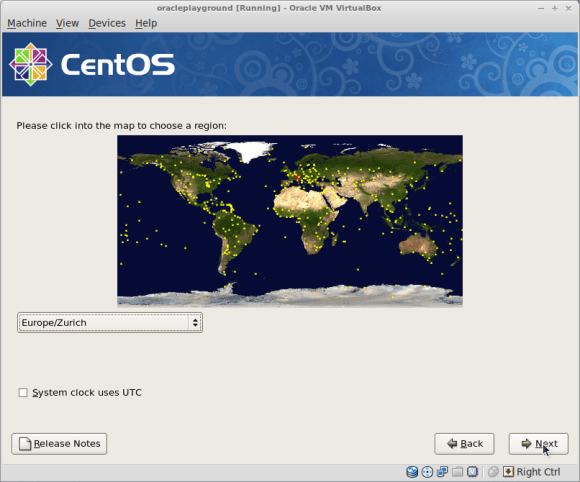
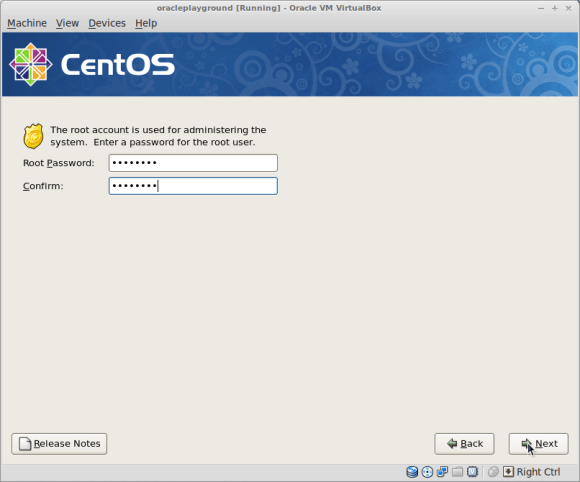
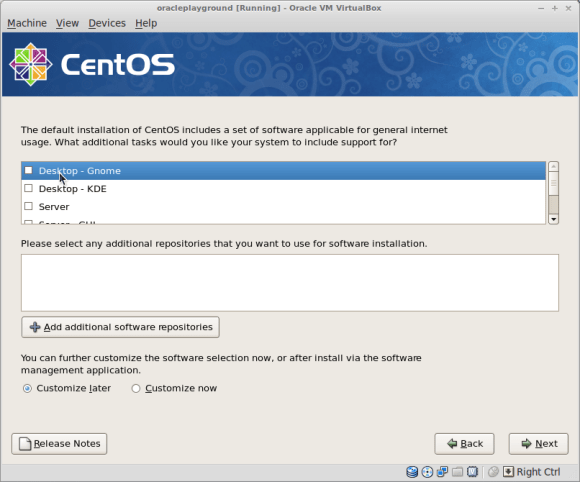
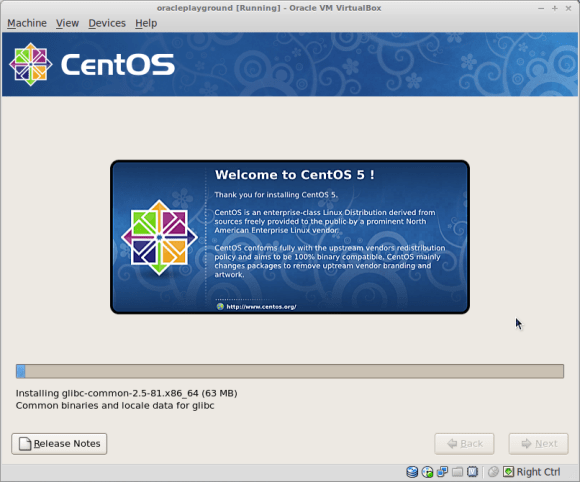
From this point onwards there will be some screen-shots to document the OS setup ( You would use tools like kickstart for installating a qualified server ).
Note: If your cursor is catched inside the Virtual Machine window you can use the “right CRTL” key to return to your workstation.


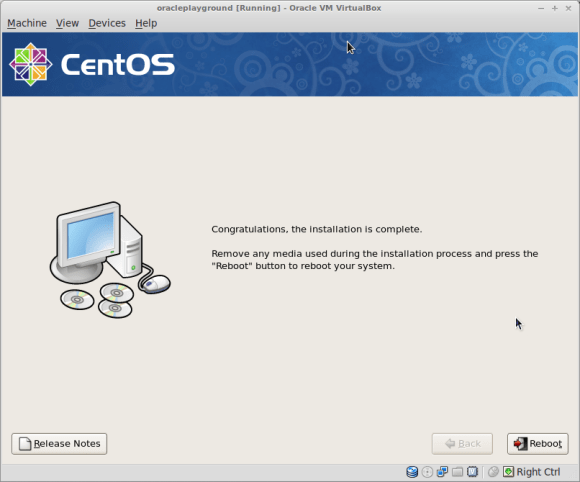
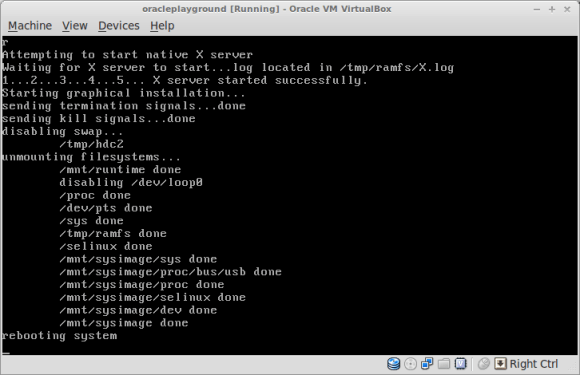


This was the last screenshot and for all remaining task I assume you’re logged in as root and provide the command line usage to proceed:
From now on you should be able to login through ssh. If you workstation runs on Linux/Solaris/OS X this should get you the connection:
ssh -o Port=3000 root@localhost
If you are working on windows, here is the putty example:
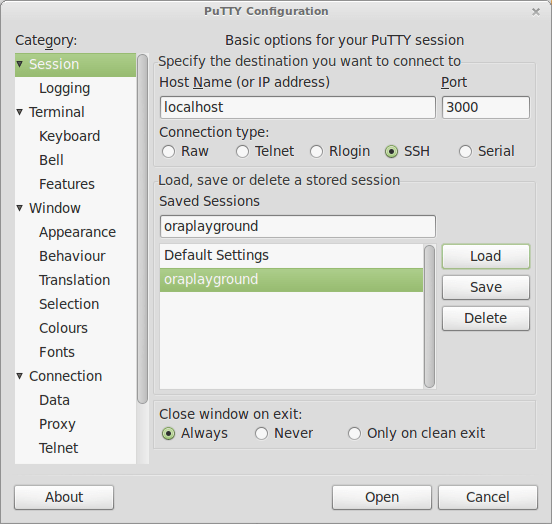
If you want to bring your system up to date now, you can use yum to download and install the latest patches:
Do not forget to set the proxy, if you need to use one ( btw. you can permanently set the proxy for yum in /etc/yum.conf ):
export http_proxy=proxy.yourdomain.com:8080
Update the system to the latest patchlevel:
yum update
Now is the perfect time to take a snapshot of your Virtual Machine. This will be very helpful in case you want to come back to this point later or if you damage your VM during one of the next steps. Reverting a snapshot takes minutes, doing all the work above again takes hours.
On your workstation take a snapshot of the Virtual Machine:
vboxmanage snapshot oracleplayground take "after OS installation"
If you want to export the Virtual Machine as appliance, you can do this, too. Appliances are useful if you want to import the whole Virtual Machine to a new one or if you want to transfer it to a another workstation.
vboxmanage export "oracleplayground" --output oracleplayground.ovf
For importing it ( on the same or any other host ):
vboxmanage import "oracleplayground.ovf"
That’s it for the basic Operating System setup. The next post will be about the various configuration tasks that need to be done before we may start installing the oracle software.

